This guide is for athletes, coaches, and weekend warriors who want to add vertical jump work without getting sidelined — you're worried about knee pain, ankle sprains, or just not knowing what’s safe to do first. You want clear, practical steps so you can train confidently. Our team helps beginners build power the smart way: we focus on movement quality, progressive loading, and simple safety checks that cut injury risk while improving your vertical jump — no guesswork, no wasted reps.
What is vertical jump training and why does injury prevention matter?
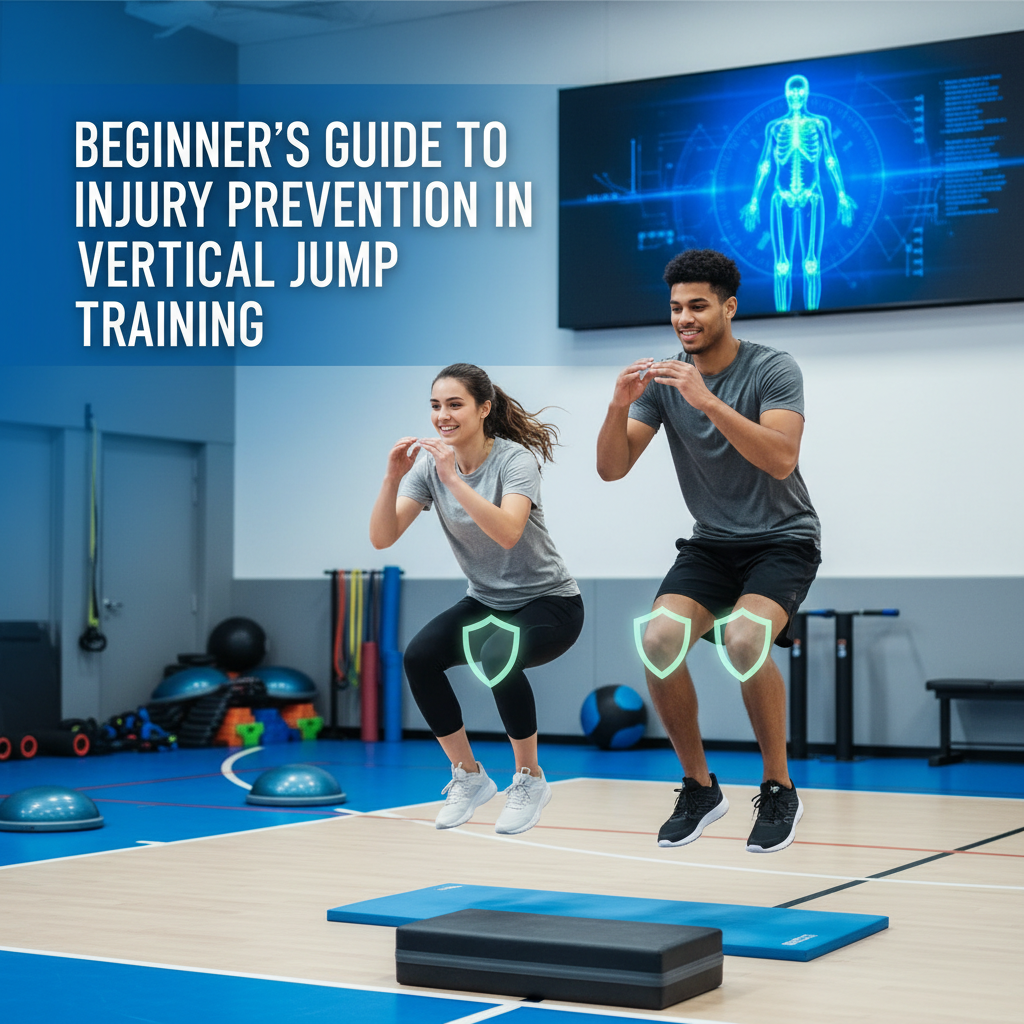
Vertical jump training is any program aimed at increasing how high you can jump — think plyometrics, strength work, and technique drills. Learn more about plyometrics, strength work. But here's the thing: jumping is high-impact and demands force absorption and rapid power. If your mechanics, strength, or recovery aren't there, injuries happen fast (ACL tears, patellar tendinopathy, ankle sprains). So safety isn't optional — it's part of progress. Learn more about athlete nutrition planning.
How can a beginner prevent injuries during vertical jump training?
Short answer: build a base first, focus on technique, and progress slowly. And yes, that sounds obvious — but most folks rush to box jumps before they can even squat well. Don't be that person.
- Assess movement basics: can you squat to parallel with a neutral spine? Can you perform a controlled single-leg stance for 10 seconds? If not, fix that first.
- Prioritize landing mechanics: soft knees, hips back, chest up, and absorb with the hips (not the knees only).
- Strength trains the tissues: add 2–3 strength sessions per week (see exercises below).
- Progress volume and intensity by about 10% per week — slow is safe.
What warm-up best prevents injury for vertical jump training?
Warm-ups should raise heart rate, activate key muscles, and rehearse the movement pattern. Do this 8–12 minutes before jumping.
- General: 3 minutes of light cardio (jog, bike, jump rope — 90 seconds works too).
- Mobility: 10 hip swings per side, 10 leg swings front-to-back, ankle circles 10 each.
- Activation: 2 sets of 10 glute bridges, 8 banded lateral walks, 6 bodyweight squats with a 2-second eccentric.
- Plyo prep: 3 “ankle hops” (small, stiff jumps) and 3 sub-maximal tuck jumps — landing soft each time.
Which exercises reduce injury risk and improve vertical jump?
Do these 6 fundamental exercises 2x/week. They're simple, measurable, and they work.

- Goblet squat — 3 sets of 8 (builds hip and quad strength, teaches upright torso).
- Romanian deadlift — 3 sets of 6 (loads the hamstrings and posterior chain, crucial for safe landings).
- Single-leg RDL — 3 sets of 6 per leg (stability and balance; prevents ankle and knee injuries).
- Calf raises — 3 sets of 12 (for ankle stiffness and push-off power).
- Nordic hamstring curl or eccentric hamstring work — 2 sets of 5 (reduces hamstring strain risk).
- Box step-downs or controlled landings — 3 sets of 6 (practice absorbing force correctly).
Why these exercises? Quick reasoning
Because jumping is a full-chain action. You need strong hips, controlled hamstrings, stable ankles, and coordinated landings. These exercises build those pieces. Simple, effective, not flashy.
How should a beginner progress jump training safely?
Follow a stepwise progression — find the easiest version you can do perfectly, then move up one step only when technique is bulletproof.
- Landing drills and low-impact hops (10–20 reps) — master soft landings.
- Sub-maximal verticals (50–70% effort) — 6–8 reps x 3 sets.
- Low box jumps (12–18 inches) focusing on control — 4–6 reps x 3 sets.
- Higher box jumps and single-leg jumps once strength and landing are solid.
If you feel sharp pain (not normal muscle soreness) stop immediately. Trust me — a week off is better than months rehabbing an ACL.
How many sessions per week? Volume and rest for beginners
Start with 2 jump sessions and 2–3 strength sessions weekly. Not more. Your nervous system needs time to adapt.
- Jump sessions: 30–45 minutes, focus on quality over quantity — total plyo reps per session: 40–60 for beginners.
- Strength sessions: moderate load, controlled tempo. Rest 48–72 hours between heavy lower-body days.
- Recovery: foam rolling, mobility, sleep — aim for 7–9 hours a night.
What common mistakes cause injuries — and how to avoid them?
People rush, wear poor shoes, land stiff, and ignore single-leg work. Sound familiar? Fix these.

- Rushing progression — don't jump to high boxes before you're ready.
- Ignoring single-leg stability — most sports demand it; weak single-leg control equals injury.
- Poor footwear or hard surfaces — use sneakers with good grip and avoid concrete when doing high-volume plyos.
- Overtraining — soreness is okay, joint pain is not. Scale back volume, not intensity, when needed.
How do I check landing mechanics? Simple cues and tests
Use these cues during every landing: knees aligned over toes, hips back, chest tall, soft knees. Want a test? Film a jump from the side and frontal view — look for knee valgus (knees caving in) or stiff ankle landings. If you see that, regress to landing drills and single-leg strengthening for 2–4 weeks.
Equipment, environment, and safety checklist
- Shoes: supportive cross-trainers with a low-to-mid heel drop.
- Surface: sprung gym floor, turf, or thick mat; avoid hard concrete.
- Boxes: use stable boxes; for beginners 12–18 inches is plenty.
- Space: allow at least 6 feet of landing zone free from obstacles.
- Spotting: at first have a coach or partner watch technique, or film yourself.
Sample beginner session (60 minutes) — focus on safety and progress
Here’s a template. Use it twice per week, with strength days in between.
- Warm-up: 10 minutes (cardio + mobility + activation).
- Technique: 3 sets of 6 controlled sub-maximal verticals (60% effort).
- Plyo: 4 sets of 5 low box jumps (12–16 inches) with soft landings.
- Strength: 3 sets of 8 goblet squats, 3 sets of 6 RDLs, 3 sets of 6 single-leg RDLs per leg.
- Landing drills: 3 sets of 5 step-downs per leg, slow and controlled.
- Cool-down: 5–10 minutes mobility and breathing work.
When should you see a professional?
Go see a physio or certified coach if you have sharp joint pain during or after jumping, persistent swelling, or if one leg feels substantially weaker. Also seek help if your technique doesn't improve after 4–6 weeks of focused work. We can do movement screens, identify weaknesses, and give a tailored plan — if you want help, our team can assess and build a safe progression for you.
Quick checklist: injury prevention for vertical jump — one page
- Master squat and single-leg balance before jumping hard.
- Warm up 8–12 minutes: cardio, mobility, activation, jump prep.
- Strength train posterior chain 2–3x/week.
- Progress jumps stepwise; stop at pain.
- Use safe equipment and proper footwear.
- Rest and recover: sleep, foam roll, deload when needed.
Look — getting higher doesn't have to mean getting hurt. Be methodical, practice the basics, and you'll build safe, lasting power. If you want a free checklist PDF or a quick video review of your jump, our coaches will check your form and give a prioritized fix list (no pressure, just helpful). Want that? Reach out and we'll set it up.